如何在 Laravel 项目中在一个子域名上组织维护工具,如 Laravel Pulse 和 Laravel Telescope。
一个示例 Laravel 项目可以在本 Github 仓库 找到。更多关于 Capsules 或 X 的信息。
由于 Laravel 框架提供了众多工具,如 Telescope 或最近推出的 Pulse,因此将这些工具集中在一个仪表板中变得至关重要。以下是如何在专用子域名上对这些工具进行分组的方法。
最初,我们整洁的 Laravel 项目中只配置了一个路由。
routes/web.php
<?php

use Illuminate\Support\Facades\Route;
use Inertia\Inertia;


Route::get( '/', fn() => Inertia::render( 'Welcome' ) );
创建一个集中所需工具的子域名只需要在 web.php 文件中添加几行。对于本文,在继续之前,在 .env 文件中以及相关的配置文件中添加额外的环境变量是必要的。
.env
APP_DOMAIN=article.test
APP_URL=http://${APP_DOMAIN}
TOOLS_DOMAIN=tools.${APP_DOMAIN}
这还涉及到对相关配置文件(如 app.php)的更改,以及创建一个名为 tools.php 的新配置文件。
config/app.php
...
    /*
    |--------------------------------------------------------------------------
    | Application Domain
    |--------------------------------------------------------------------------
    |
    | This value is the domain of your application. This value is used when the
    | framework needs to access the domain in routes.
    |
    */

    'domain' => env('APP_DOMAIN'),
...
config/tools.php
<?php

return [

    /*
    |--------------------------------------------------------------------------
    | Tools Domain
    |--------------------------------------------------------------------------
    |
    | This value is the domain of your tools. This value is used when the
    | framework needs to access the domain in routes.
    |
    */

    'domain' => env('TOOLS_DOMAIN'),
];
现在,是时候配置与这些更改相关联的路线了。
routes/web.php
<?php

use Illuminate\Support\Facades\Route;
use Inertia\Inertia;


Route::domain( config( 'tools.domain' ) )->group( function()
{
    Route::get( '/', fn() => Inertia::render( 'Tools' ) )->name( 'tools' );
});

Route::domain( config( 'app.domain' ) )->group( function()
{
    Route::get( '/', fn() => Inertia::render( 'App' ) )->name( 'app' );
});
命令 php artisan route:list 提供了已创建路线的概述,让您检查所有内容是否排列有序。
php artisan route:list

GET|HEAD   tools.article.test/ ....................... tools
GET|HEAD   article.test/ ............................... app
...
要显示这些路线,需要创建一个针对通用域的独立页面以及另一个针对子域 tools 的页面。通过复制默认页面并将其标题稍作修改,可以区分这两个页面。默认页面如下
<script setup>

import logotype from '/public/assets/capsules-logotype-red-blue-home.svg';

</script>

<template>

    <div class="w-full min-h-screen flex flex-col font-sans text-primary-black">

        <div class="grow mx-8 lg:mx-auto max-w-screen-lg overflow-auto flex flex-col items-center justify-center text-center">

            <img class="w-24 h-24 select-none" v-bind:src="logotype">

            <h1 class="mt-4 text-6xl font-bold select-none header-mode" v-text="'Capsules Codes'" />

        </div>

    </div>

</template>
resources/js/pages/App.Vue
...
<h1 class="mt-4 text-6xl font-bold select-none header-mode" v-text="'Capsules Codes'" />

<h2 class="mt-4 text-4xl font-bold select-none header-mode" v-text="'Application'" />
...
resources/js/pages/Tools.vue
...
<h1 class="mt-4 text-6xl font-bold select-none header-mode" v-text="'Capsules Codes'" />

<h2 class="mt-4 text-4xl font-bold select-none header-mode" v-text="'Tools'" />
...
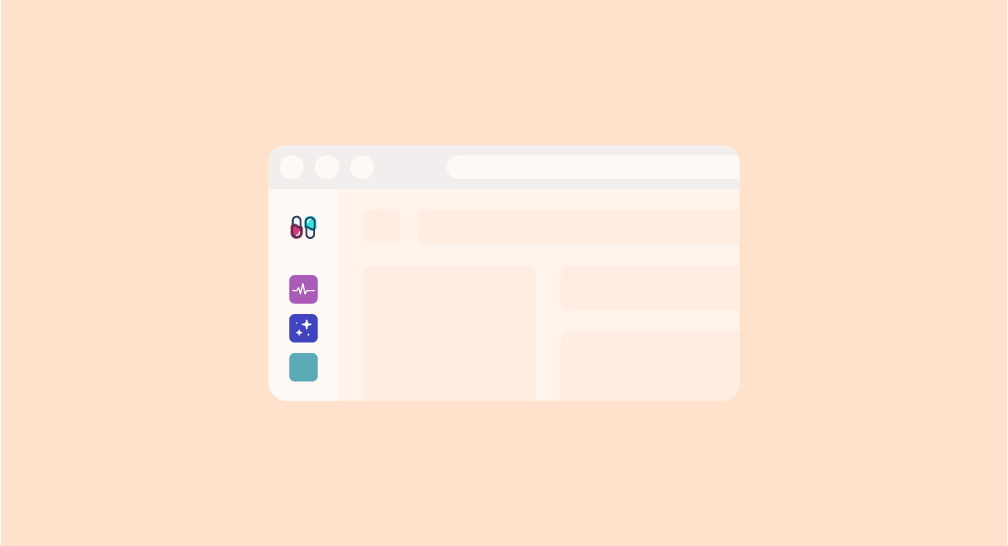
现在,子域的访问权限已确立,在实施工具之前,需要创建一个菜单来显示各种选项卡。此菜单可以放在极左的位置,并包含 Pulse 和 Horizon 的按钮,而内容则在右侧。
resources/js/pages/Tools.vue
<script setup>

import { Link } from '@inertiajs/vue3';

import logotype from '/public/assets/capsules-logotype-red-blue.svg';
import pulse from '/public/assets/tools/pulse.svg';
import telescope from '/public/assets/tools/telescope.svg';


const props = defineProps( { service : { type : String } } );

</script>

<template>

    <div class="w-full h-screen flex">

        <div class="p-4 h-full bg-white">

            <div class="space-y-8">

                <img class="h-8 w-8" v-bind:src="logotype">

                <div class="flex flex-col space-y-1">

                    <Link class="py-2 rounded-md" v-bind:class=" props.service === 'pulse' ? 'bg-slate-100' : 'hover:bg-slate-50' " href="/pulse" v-bind:replace="true" as="button"><img class="mx-2 h-4 w-4" v-bind:src="pulse"></link>

                    <Link class="py-2 rounded-md" v-bind:class=" props.service === 'telescope' ? 'bg-slate-100' : 'hover:bg-slate-50' " href="/telescope" v-bind:replace="true" as="button"><img class="mx-2 h-4 w-4" v-bind:src="telescope"></link>
                </div>

            </div>

        </div>

        <div class="grow overflow-auto">

            <div class="h-full flex">

                <div class="w-full flex flex-col items-center justify-center">

                    <img class="w-24 h-24 select-none" v-bind:src="logotype">

                    <h1 class="mt-4 text-6xl font-bold select-none header-mode" v-text="'Capsules Codes'" />

                    <h2 class="mt-4 text-4xl font-bold select-none header-mode" v-text=" props.service ? props.service : 'Tools'" />

                </div>

            </div>

        </div>

    </div>

</template>
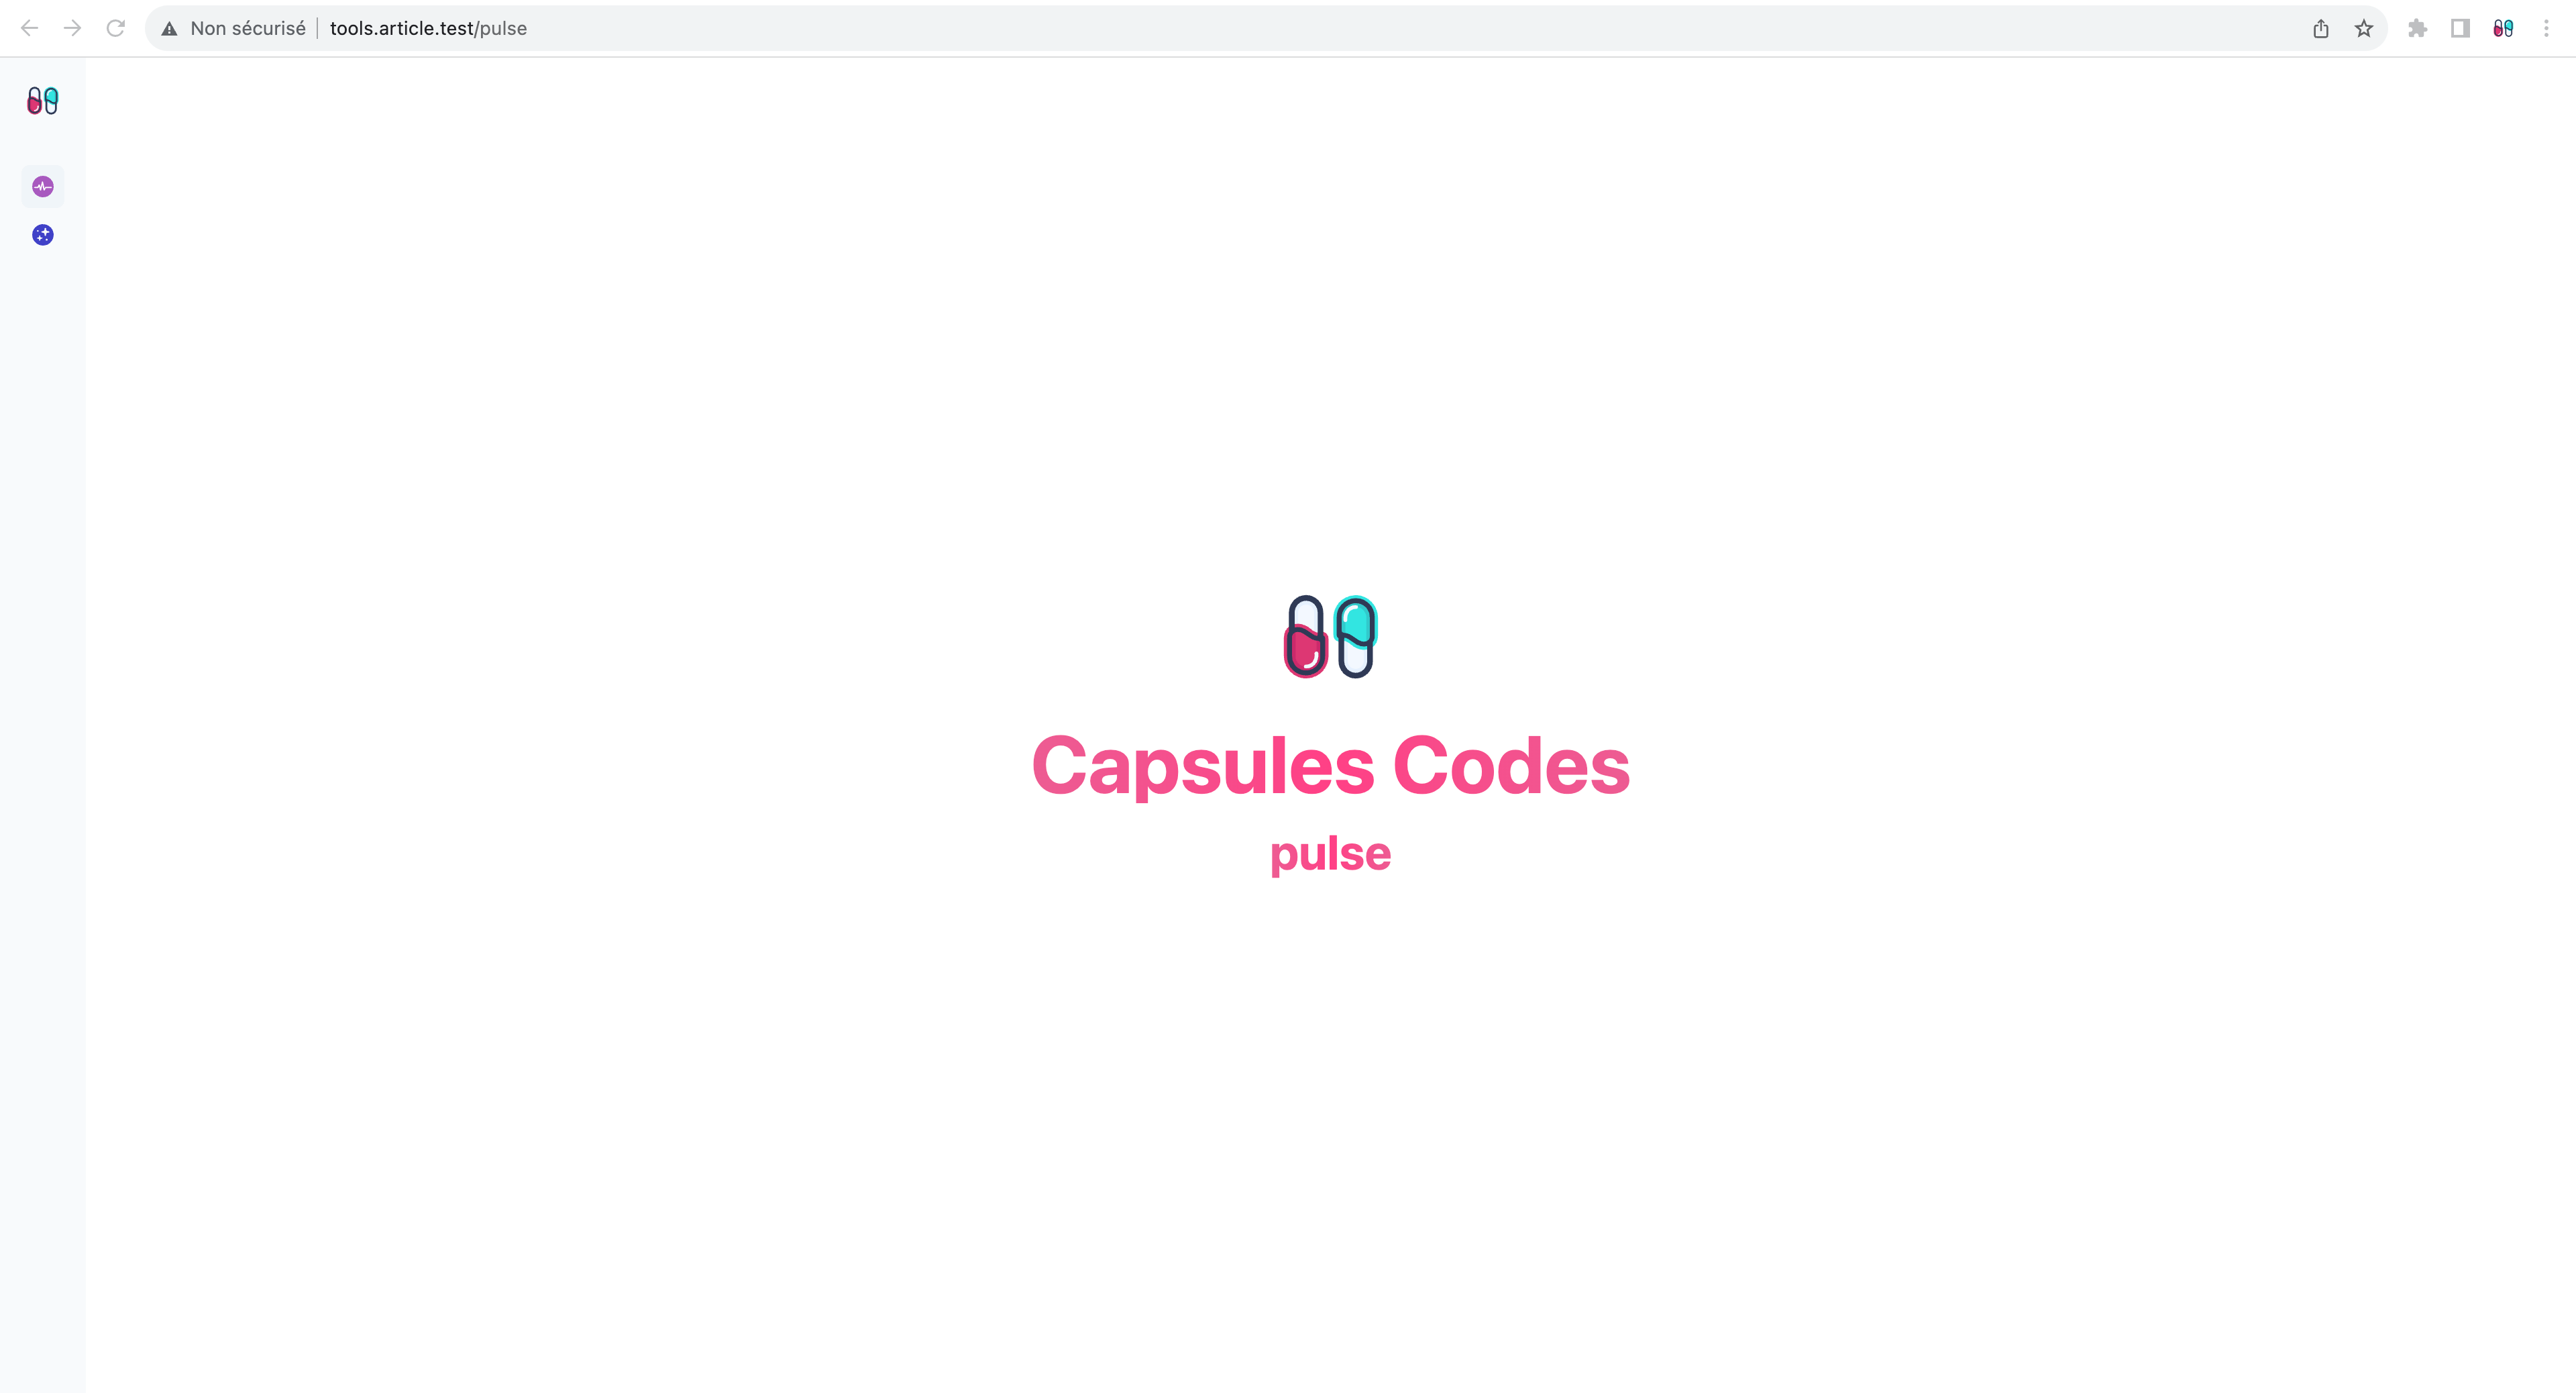
现在,有两条链接,形式为 Link 组件,可以访问不同的工具。当前,页面在未加载服务时显示“工具”主屏幕。
在 web.php 文件以及 ToolsController.php 控制器中需要实施两个路线,以启用我们的工具。
routes/web.php
use App\Http\Controllers\ToolsController;


Route::domain( config( 'tools.domain' ) )->group( function()
{
    Route::get( 'pulse', [ ToolsController::class, 'pulse' ] )->name( 'tools.pulse' );
    Route::get( 'telescope', [ ToolsController::class, 'telescope' ] )->name( 'tools.telescope' );

	Route::get( '{any}', fn() => redirect()->route( 'tools.pulse' ) )->where( 'any', '.*' );
});
现在,不再需要维护 / 路由。已设置了重定向路由,以便在无 URL 匹配时重定向到所选工具。
app/Http/Controllers/ToolsController.php
<?php

namespace App\Http\Controllers;

use Inertia\Inertia;
use Inertia\Response;


class ToolsController extends Controller
{
    public function pulse() : Response
    {
        return Inertia::render( 'Tools', [ 'service' => 'pulse' ] );
    }

    public function telescope() : Response
    {
        return Inertia::render( 'Tools', [ 'service' => 'telescope' ] );
    }
}
现在,只剩下安装 Pulse 以及 Telescope。为此,需要一个数据库。以下简要总结了安装说明。
.env
DB_CONNECTION=mysql
DB_HOST=127.0.0.1
DB_PORT=3306
DB_DATABASE=tools
DB_USERNAME=root
DB_PASSWORD=
Laravel Pulse
> composer require laravel/pulse
> php artisan vendor:publish --provider="Laravel\\Pulse\\PulseServiceProvider"
> php artisan migrate

Laravel Telescope
> composer require laravel/telescope
> php artisan telescope:install
> php artisan migrate
安装这些工具后,路径 /pulse 和 /telescope 可以直接访问工具。因此,需要修改它们,这可以通过各自的配置文件完成。您只需在 .env 文件中更新路径。
.env
PULSE_PATH=pulse-custom-path
TELESCOPE_PATH=telescope-custom-path
现在,需要将 ToolsController 中的路径注入到 Tools 组件中。然后,该组件将加载带有当前 URL 的 <iframe> 标签。
app\Http\Controllers\ToolsController.php
<?php

namespace App\Http\Controllers;

use Inertia\Inertia;
use Inertia\Response;


class ToolsController extends Controller
{
    public function pulse() : Response
    {
        return Inertia::render( 'Tools', [ 'service' => 'pulse', 'url' => redirect()->to( config( 'pulse.path' ) )->getTargetUrl() ] );
    }

    public function telescope() : Response
    {
        return Inertia::render( 'Tools', [ 'service' => 'telescope', 'url' => redirect()->to( config( 'telescope.path' ) )->getTargetUrl() ] );
    }
}
resources/js/pages/Tools.vue
<script setup>

import { Link } from '@inertiajs/vue3';

import logotype from '/public/assets/capsules-logotype-red-blue.svg';
import pulse from '/public/assets/tools/pulse.svg';
import telescope from '/public/assets/tools/telescope.svg';


const props = defineProps( { service : { type : String, required : true }, url : { type : String, required : true } } );

</script>

<template>

    <div class="w-full h-screen flex">

        <div class="p-4 h-full bg-white">

            <div class="space-y-8">

                <img class="h-8 w-8" v-bind:src="logotype">

                <div class="flex flex-col space-y-1">

                    <Link class="py-2 rounded-md" v-bind:class=" props.service === 'pulse' ? 'bg-slate-100' : 'hover:bg-slate-50' " href="/pulse" v-bind:replace="true" as="button"><img class="mx-2 h-4 w-4" v-bind:src="pulse"></link>

                    <Link class="py-2 rounded-md" v-bind:class=" props.service === 'telescope' ? 'bg-slate-100' : 'hover:bg-slate-50' " href="/telescope" v-bind:replace="true" as="button"><img class="mx-2 h-4 w-4" v-bind:src="telescope"></link>
                </div>

            </div>

        </div>

        <div class="grow overflow-auto">

            <iframe class="w-full h-full" v-bind:src="props.url" />

        </div>

    </div>

</template>
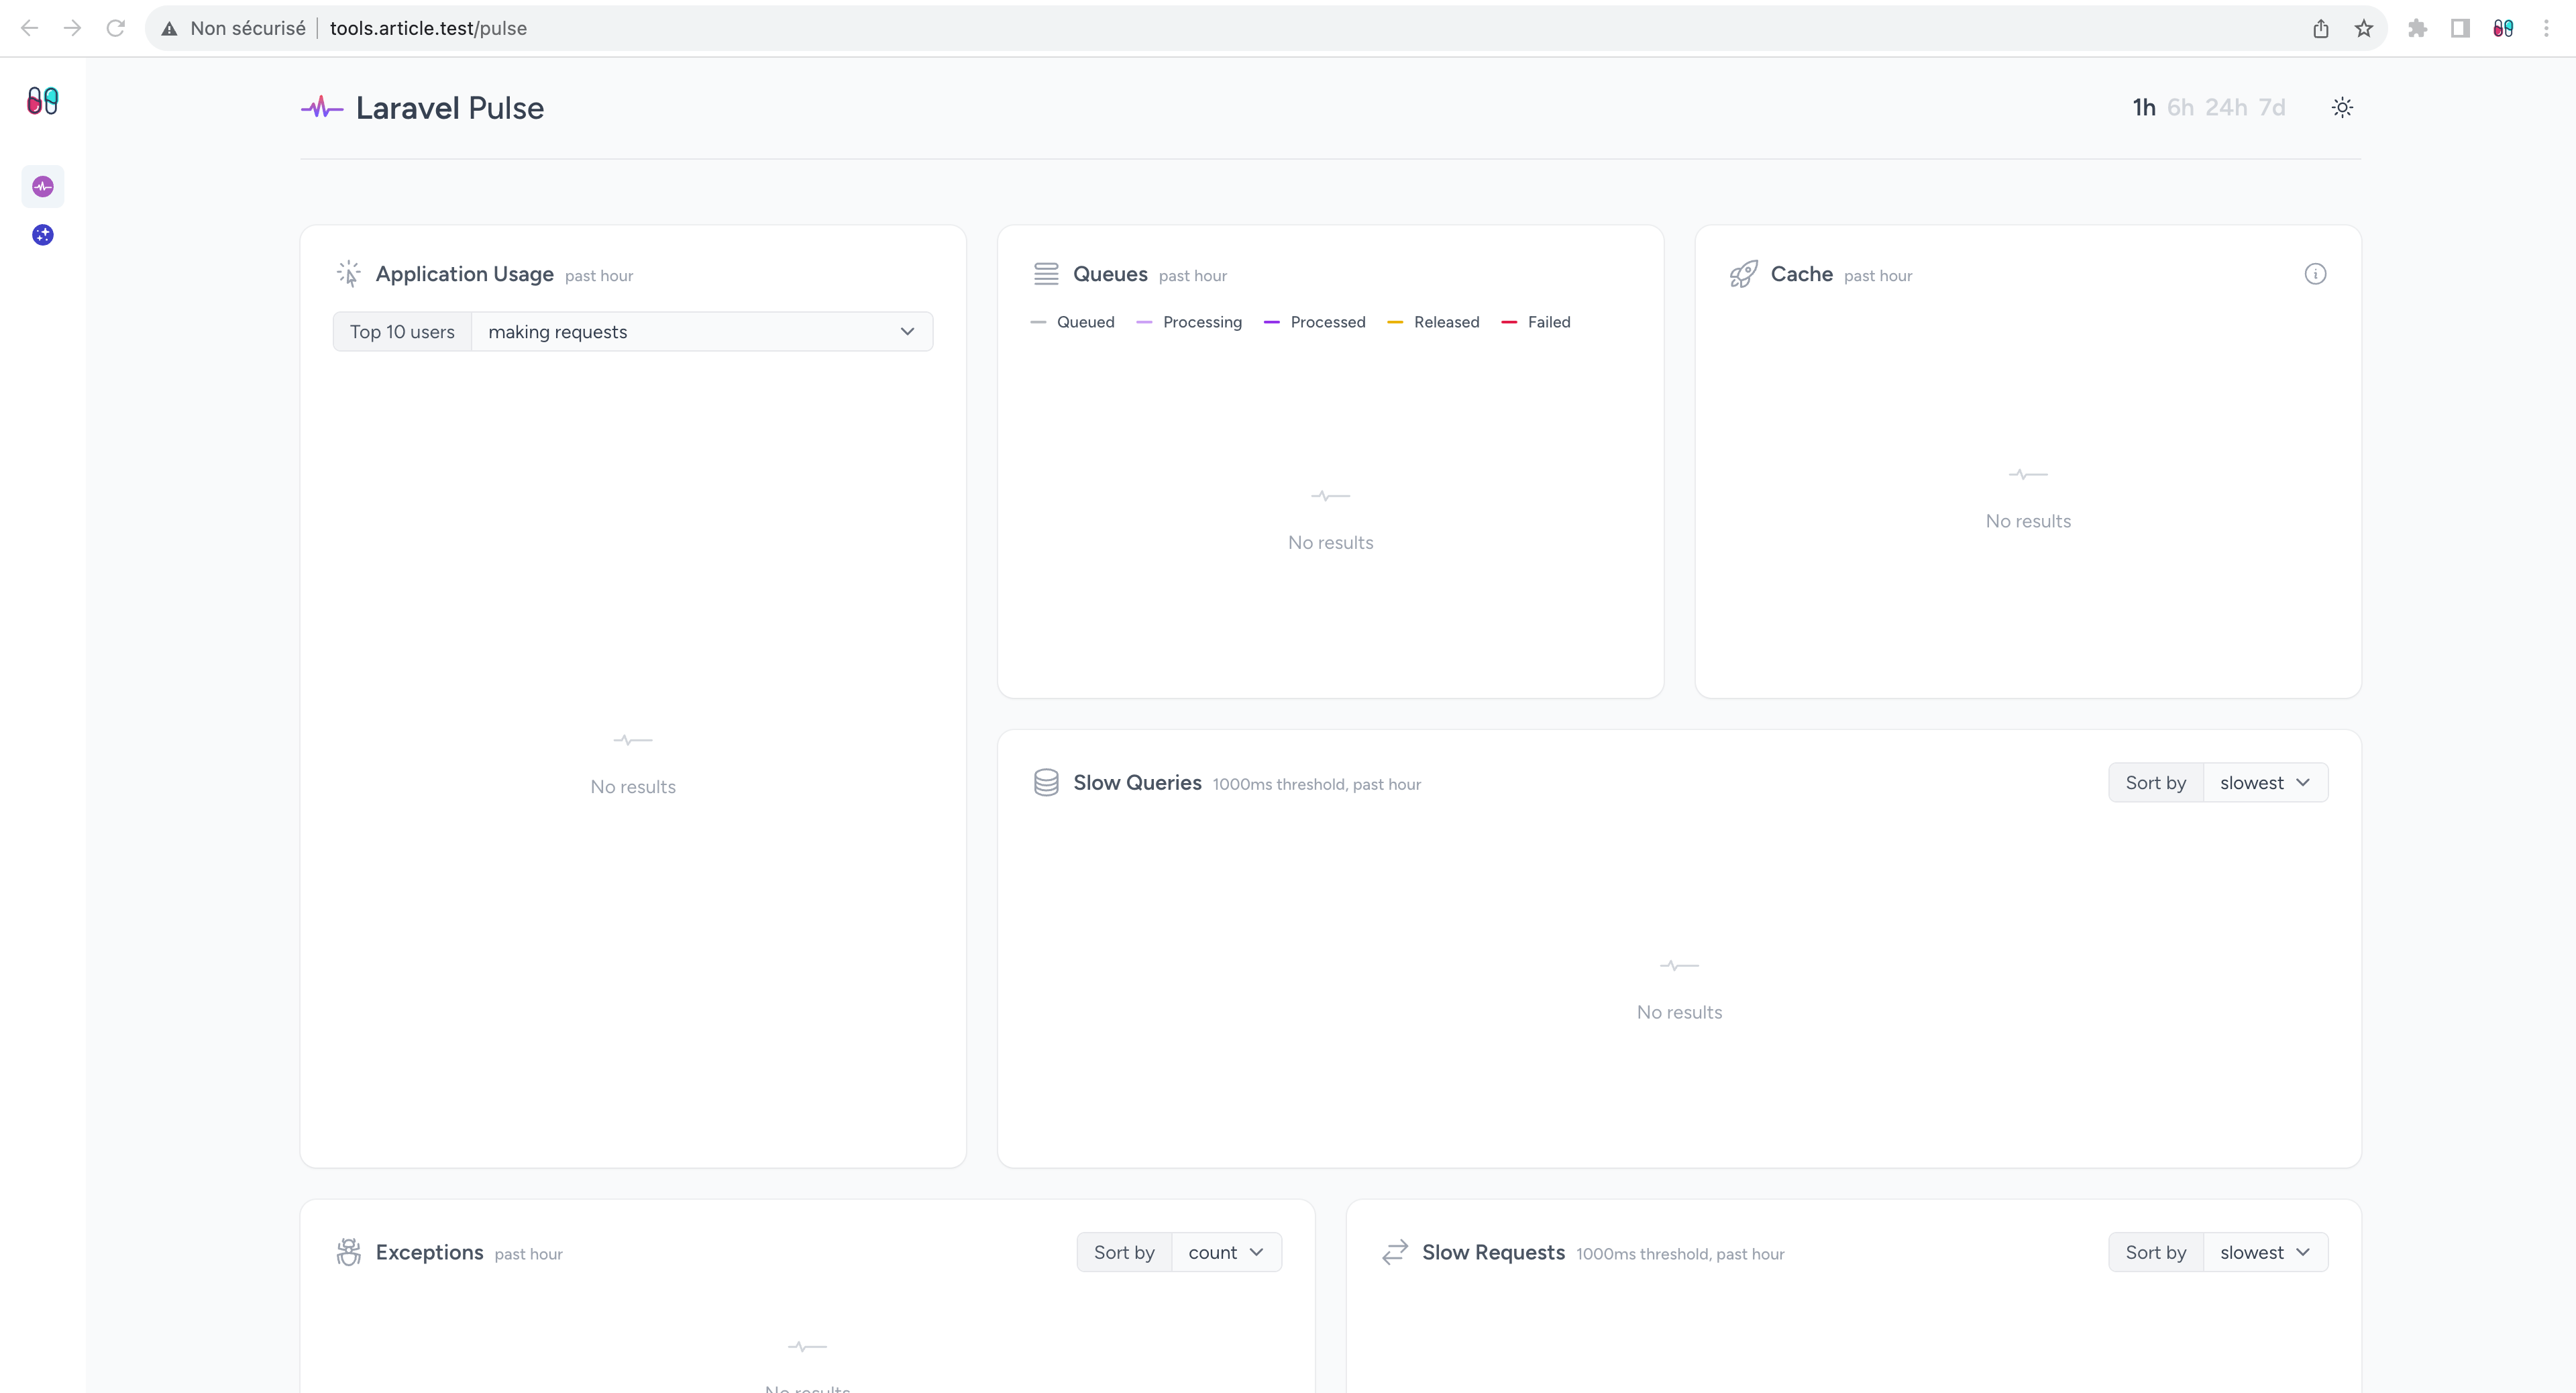
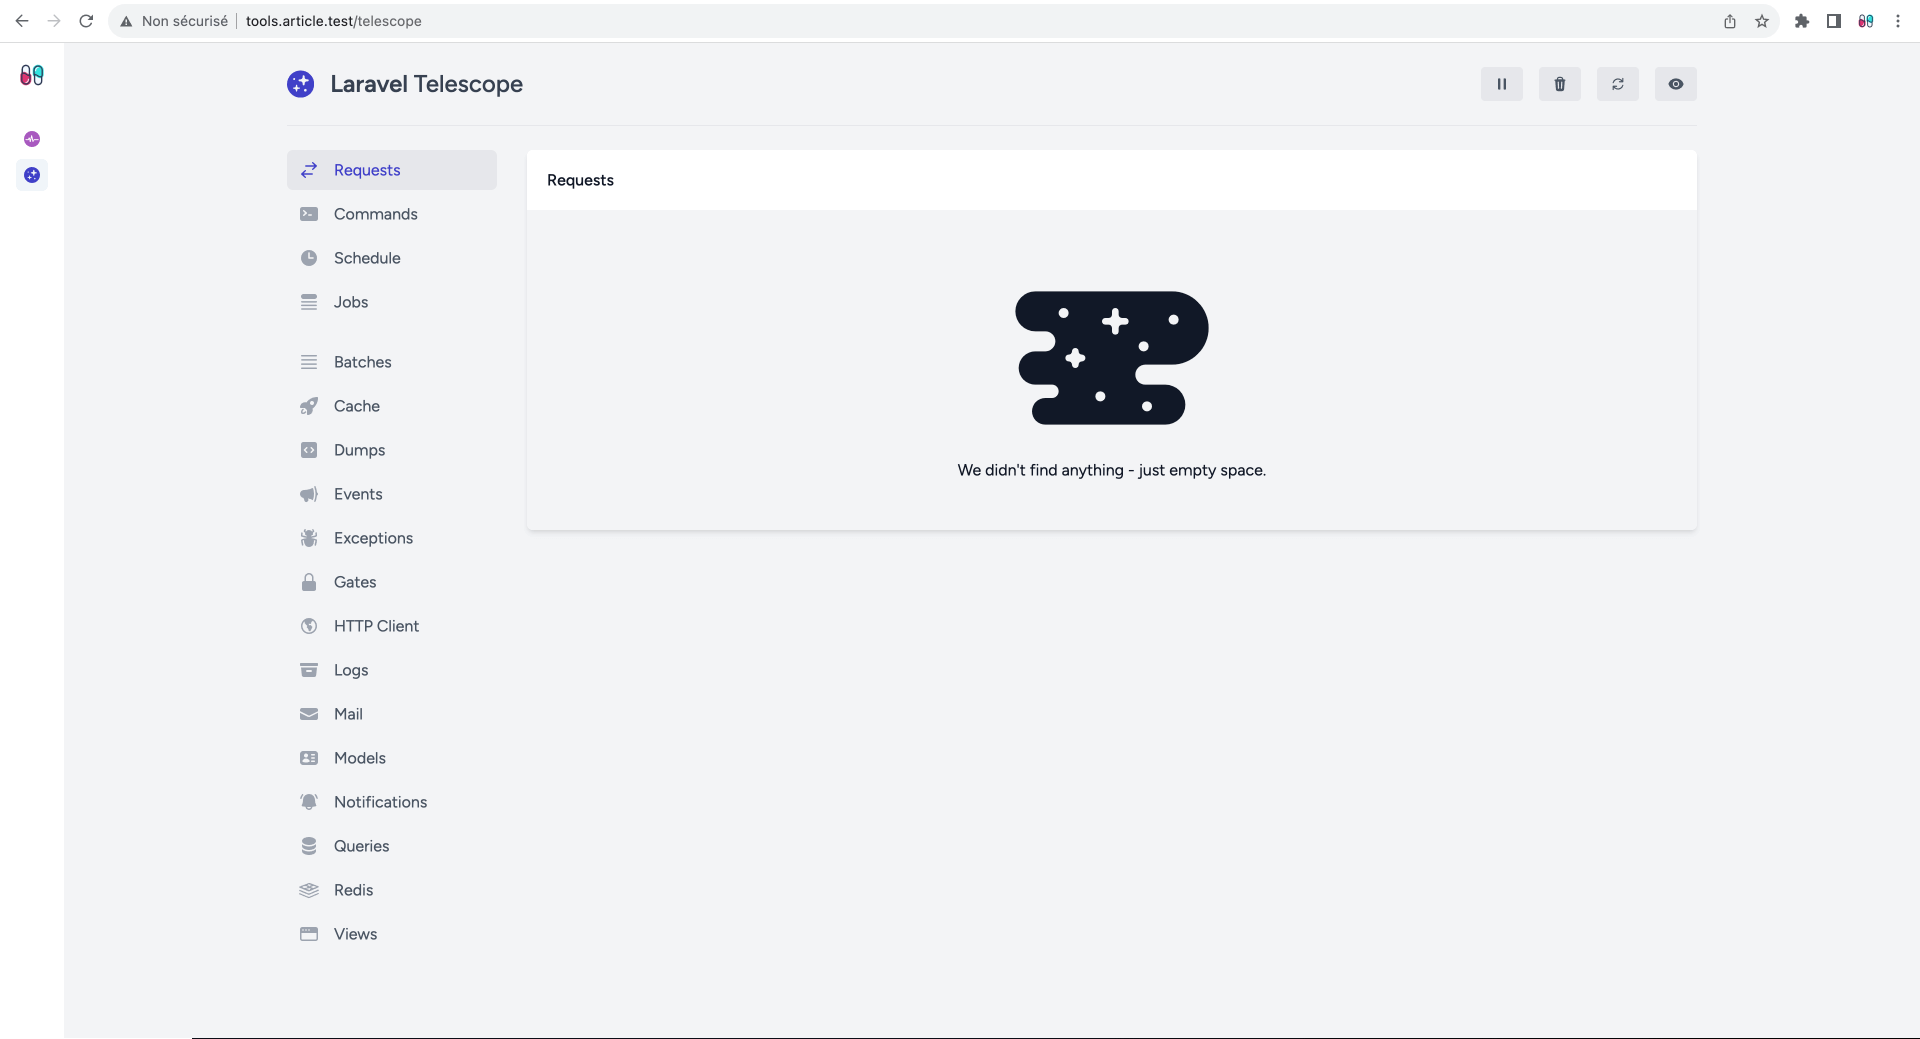
现在,可以通过侧边菜单访问这些工具!🎉
很高兴这帮到了。
driesvints, mho, fanatp 喜欢这篇文章


 Laravel
  Laravel News
  Laracasts
  Laravel Podcast