如何在Laravel Vue项目中创建动态SVG图案。
您可以在CodeSandbox演示或通过这个Github仓库获取源代码。在Capsules(https://capsules.codes/en/blog)或X(https://x.com/capsulescodes)了解更多信息。
SVG格式常用于在网页上显示二维图像或插图。这种矢量格式还允许无限放大或缩小,而不损失分辨率。
但通过JavaScript代码动态绘制SVG图案并不常见。尽管这种方法提供了无限的可能性,正如您在这篇文章中将看到的那样,但它也可能非常耗资源。
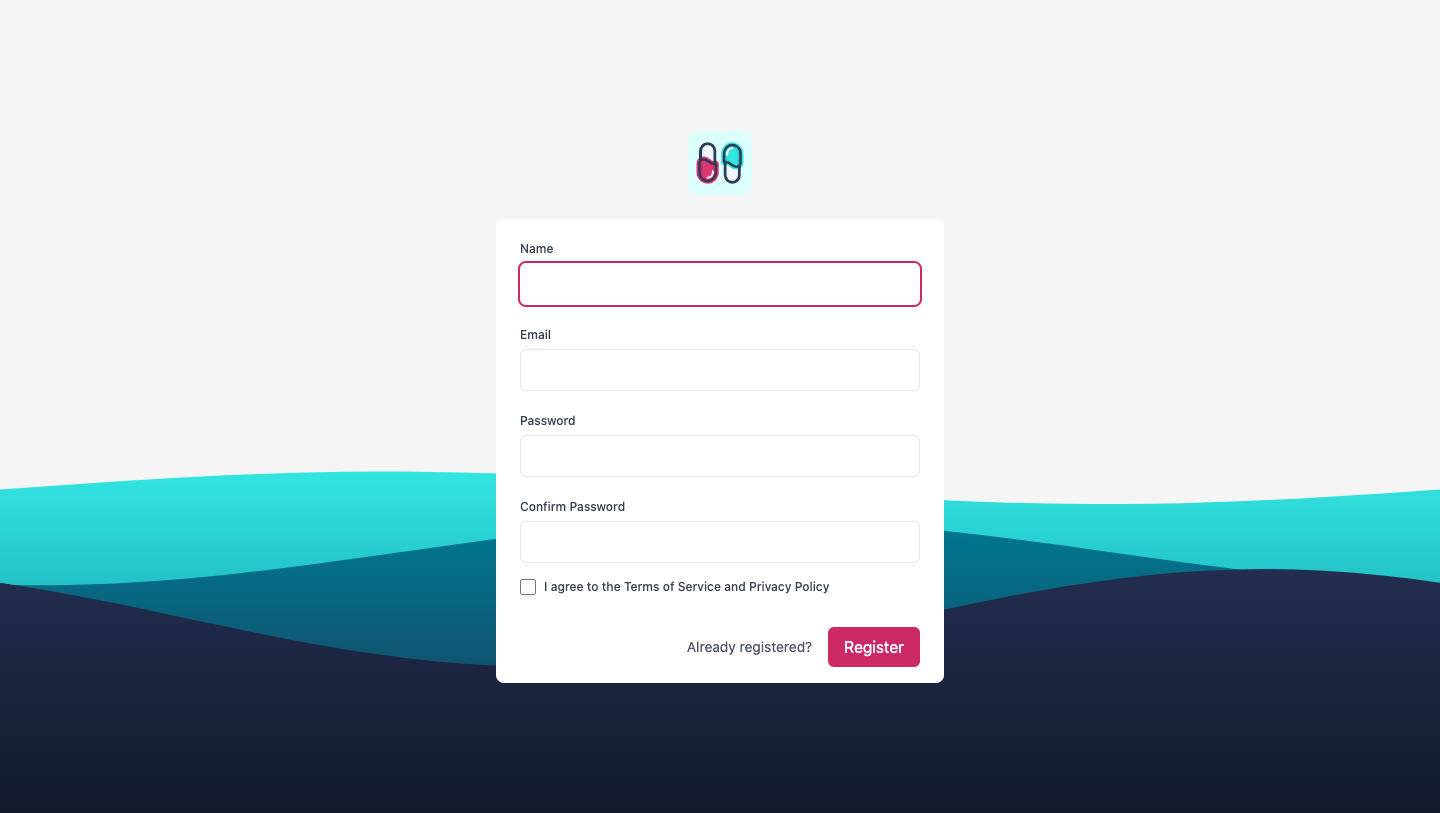
本文阐述了在注册表中搜索用作背景的颜色。它从Laravel模板和一些基本文件开始,例如《注册》页面及其《布局》。
resources/js/pages/Register.vue
<script setup>

import Layout from '~/components/Layout.vue';

</script>

<template>

    <Layout>

        <div class="mt-6 px-6 py-4 mx-8 sm:mx-0 bg-white overflow-hidden rounded-lg">

            <form class="space-y-4">

                ...

            </form>

        </div>

    </Layout>

</template>
resources/js/components/Layout.vue
<script setup>

import logotype from '/public/assets/capsules-logotype.svg';

</script>

<template>

    <div class="relative min-h-screen flex flex-col sm:justify-center items-center pt-6 sm:pt-0 bg-slate-100">

        <a class="relative w-16 h-16" href="/">

            <transition leave-active-class="transition ease-in duration-250" leave-from-class="opacity-100" leave-to-class="opacity-0">

                <img class="absolute w-16 h-16 select-none" v-bind:src="logotype">

            </transition>

        </a>

        <div class="w-full sm:max-w-md">

            <slot />

        </div>

    </div>

</template>
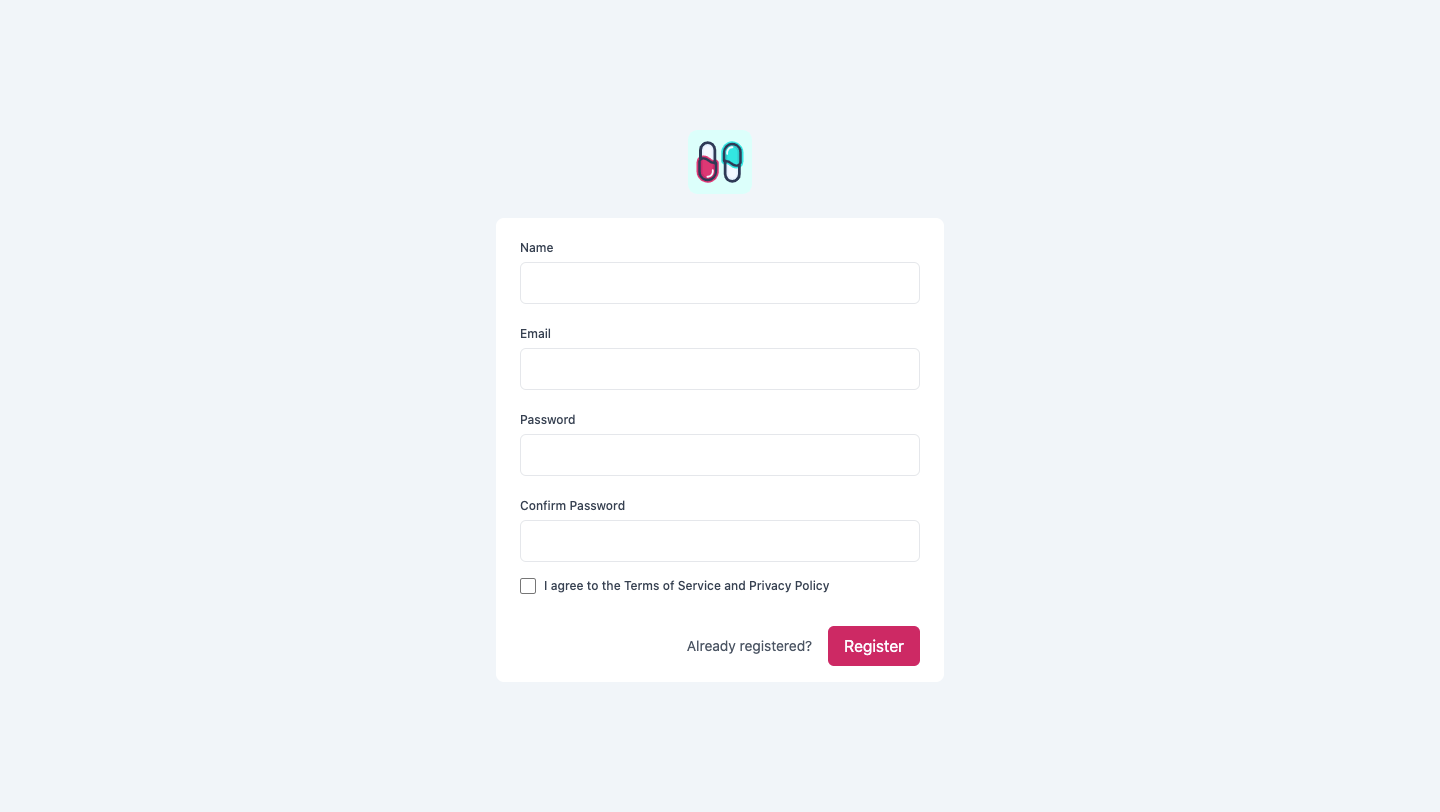
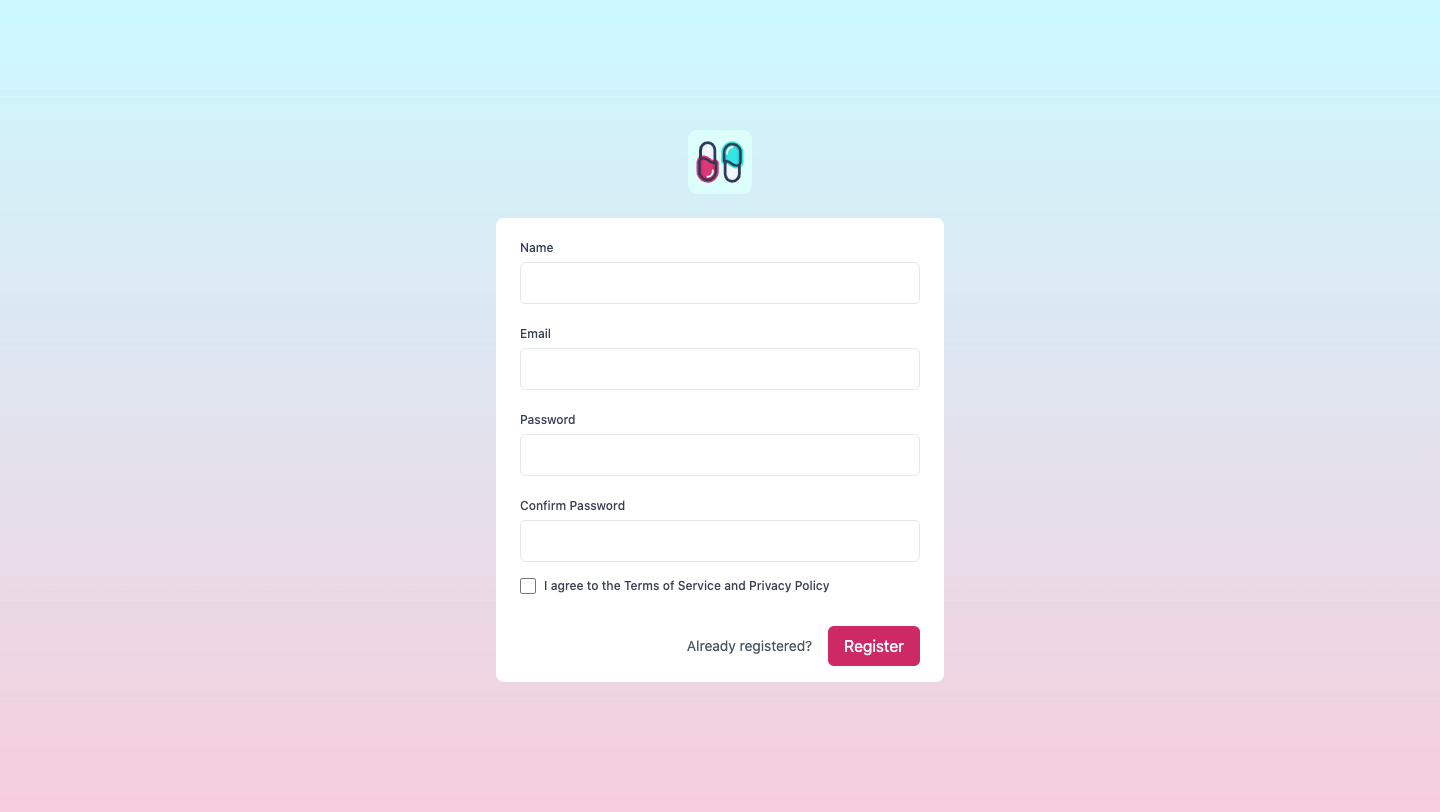
尽管视觉效果清晰简洁,但缺乏颜色。动态SVG绘制将从添加到《布局》组件的专用组件开始执行。本文中的各种示例将位于components/backgrounds文件夹中。
resources/js/components/Layout.vue
<script setup>

import Background from '~/components/Backgrounds/Line.vue';
import logotype from '/public/assets/capsules-logotype.svg';

</script>

<template>

    <div class="relative min-h-screen flex flex-col sm:justify-center items-center pt-6 sm:pt-0">

        <a class="relative w-16 h-16" href="/">

            <transition leave-active-class="transition ease-in duration-250" leave-from-class="opacity-100" leave-to-class="opacity-0">

                <img class="absolute w-16 h-16 select-none" v-bind:src="logotype">

            </transition>

        </a>

        <div class="w-full sm:max-w-md">

            <slot />

        </div>

	<Background class="fixed -z-10 w-screen h-screen" />

    </div>

</template>
- 组件具有
fixed -z-10 w-screen h-screen类。这样做是为了表示整个屏幕背景,同时仍保持在代码下方。
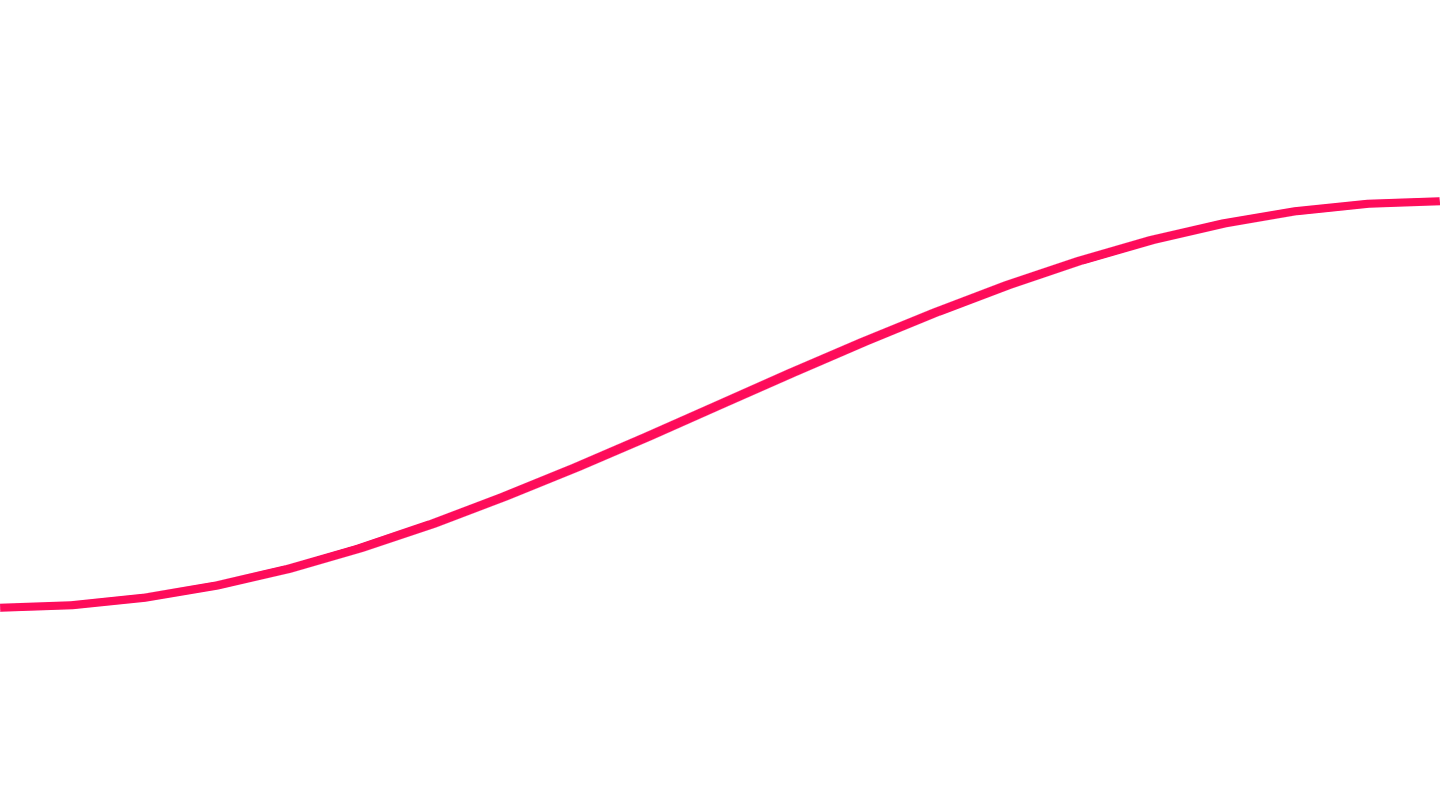
最初,建议注释掉可能影响可见性的其余代码,只显示Background组件。这个第一个组件的目的是在屏幕垂直中心从左到右画一条简单的线。这将让人了解如何初始化动态SVG。
在本文的每个步骤中,建议在《Layout》中做出的import语句中替换组件的名称。
resources/js/components/backgrounds/Line.vue
<script setup>

import { ref, onMounted } from 'vue';

const width = 100;
const height = 100;

const path = ref();

function render()
{
    const x1 = 0;
    const y1 = height / 2;

    const x2 = width;
    const y2 = height / 2;

    path.value = `M ${x1} ${y1} ${x2} ${y2}`;
}

function color()
{
    const hue = Math.ceil( Math.random() * 360 );

    return `hsl( ${hue}, 100%, 50% )`;
}

onMounted( () => render() );

</script>

<template>

	<svg preserveAspectRatio="none" v-bind:viewBox="`0 0 ${width} ${height}`">

        <path v-bind:stroke="color()" v-bind:d="path"/>

	</svg>

</template>
-preserveAspectRatio="none"允许SVG在整个表面上拉伸。
-
然后
viewBox代表从0 0 100 100的范围的表面,允许对表面进行更简单的表示。
当组件挂载时,将调用一个render方法。此render方法的目的是根据SVG请求的指令绘制这条线。文档在此处可查here。该方法将从点0 50到100 50创建路径,这相当于屏幕中心的直线。
另一个名为color的方法将被调用,以在每次页面挂载时将随机颜色应用到线条的轮廓。

简单。基本。要进一步发展,可以想象生成给定数量的线条。而不是线条,可以设想矩形:一条M 0 50 100 50的线条将变为M 0 50 100 50 100 75 0 75 Z(其中M表示移动,而Z表示多边形的闭合)。
resources/js/components/backgrounds/Lines.vue
<script setup>

import { ref, onMounted } from 'vue';

const width = 100;
const height = 100;

const lines = 10;
const paths = ref( [] );

function render()
{
    for( let i = 0; i < lines; i++ )
    {
        const offset = height / lines;

        let points = [];

        for( let j = 0; j <= 1; j++ )
        {
            const x = width * j;
            const y = offset * i;

            points.push( { x : x, y : y } );
        }

        const thickness = height / lines;

        for( let k = 1; k >= 0; k-- )
        {
            const x = width * k;
            const y = offset + thickness * i;

            points.push( { x : x, y : y } );
        }

        const line = points.map( point => `${point.x} ${point.y}`).join( ' ' );

        paths.value[ i ] = `M ${line} Z`;
    }
}

function color( index, length )
{
    const hue = 360 / length * index;

    return `hsl( ${hue}, 100%, 50% )`;
}

onMounted( () => render() );

</script>

<template>

	<svg preserveAspectRatio="none" v-bind:viewBox="`0 0 ${width} ${height}`">

		<path v-for=" ( path, key ) in paths " v-bind:key="`path-${key}`" v-bind:fill="color( key, paths.length )" v-bind:d="path"/>

	</svg>

</template>
- 在这里,复杂之处在于在
render方法中动态构建不同的多边形。其余部分大致直接:在<path>标签内使用for循环,动态调用颜色以及专用路径。
render方法将基于给定的线,通过两个循环确定其点。第一个将绘制从左到右的水平点,而第二个将通过垂直offset绘制从右到左的点。这是一个选择。

通过添加和修改多个小型更改,例如调整线条数量、操作颜色和不透明度,可以实现此效果。
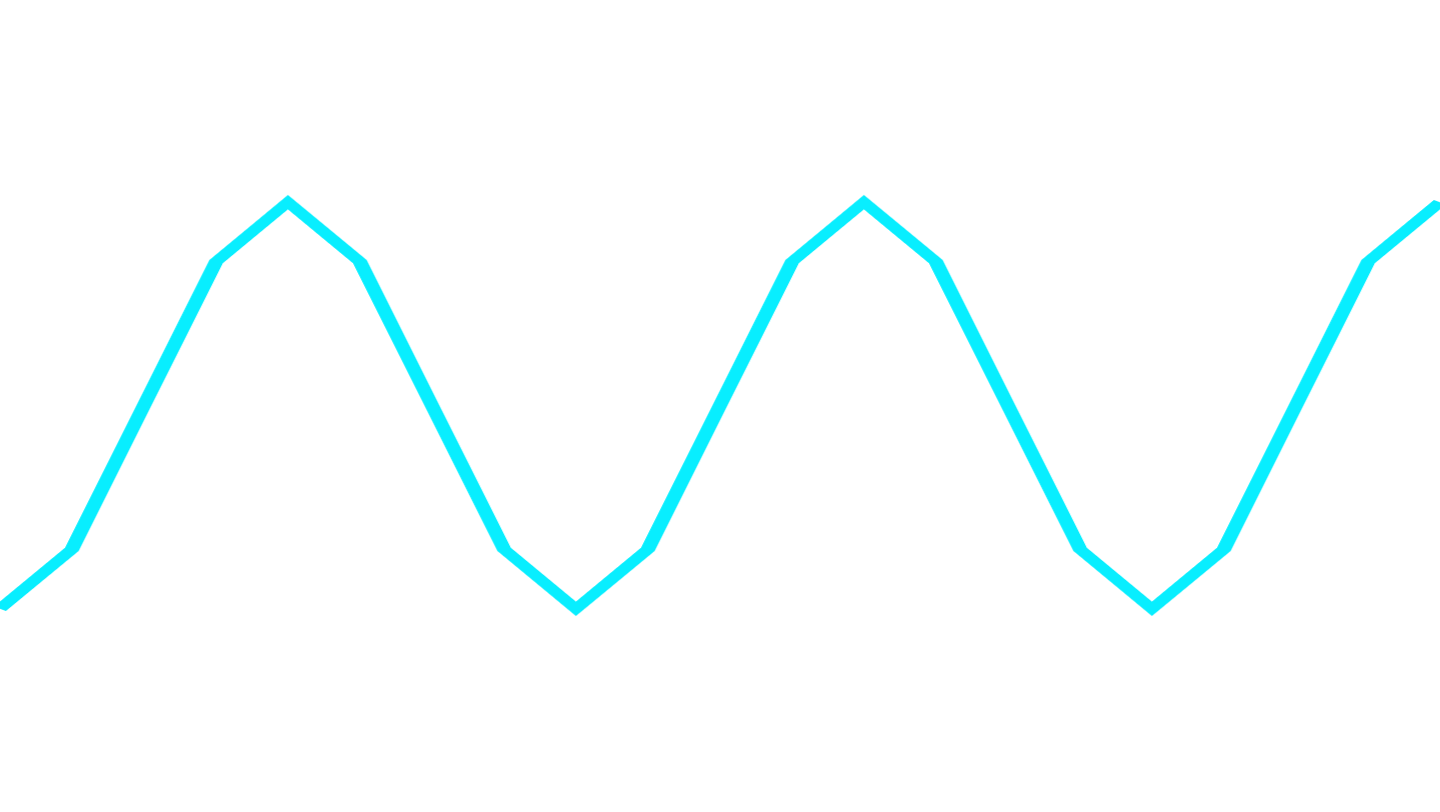
这看起来确实像<linearGradient>,但不是。是时候增加复杂度:曲线和时间。这是一个基于Line显示曲线的组件。
resources/js/components/backgrounds/Curve.vue
<script setup>

import { ref, onMounted } from 'vue';

const width = 100;
const height = 100;
const number = 20;
const amplitude = 25;

const path = ref();

function render()
{
    let points = [];

    for( let j = 0; j <= number; j++ )
    {
        const delta = j / number;
        const position = height / 2;

        const offsetX = width / number;
        const offsetY = Math.cos( Math.PI * delta );

        const x = offsetX * j;
        const y = offsetY * amplitude + position;

        points.push( { x : x, y : y } );
    }

    const curve = points.map( point => `${point.x} ${point.y}`).join( ' ' );

    path.value = `M ${curve}`;
}

function color()
{
    const hue = Math.ceil( Math.random() * 360 );

    return `hsl( ${hue}, 100%, 50% )`;
}

onMounted( () => render() );

</script>

<template>

	<svg preserveAspectRatio="none" v-bind:viewBox="`0 0 ${width} ${height}`">

        <path fill="none" v-bind:stroke="color()" v-bind:d="path"/>

	</svg>

</template>
- 此组件有两个新变量:
number和amplitude。 -
number代表曲线具有的点数。 -
amplitude代表曲线的高度。
render函数的特点在于变量delta和Math.cos()的使用。然后offsetY返回一个介于-1和1之间的值,这取决于曲线位置与圆周率PI的组合。我们将此值乘以amplitude以及它的垂直位置来获得这个曲线。
可以添加一个乘数到delta来增加或减少振荡次数。
一个振荡就是两次连续经过之间的旅程,所以当前的振荡是一个半振荡。Math.cos(2 * Math.PI * delta)表示一个完整的振荡,而振荡乘数代表它的数量。
const oscillation = 2.5;

const delta = oscillation * j / number;

const offsetY = Math.cos( 2 * Math.PI * delta );
现在有超过两个振荡,但因为点的数量没有修改,曲线的平滑度不足。为了解决这个问题,例如,您可以改变点的数量从 20 到 100。
现在是时候将时间概念应用到这个曲线的动画上了。出现了两个新变量和一个全局函数:rate、duration 和 setInterval()。
import { onMounted, onUnmounted } from 'vue';

let rendering;

const rate = 15;

onMounted( () => rendering = setInterval( () => render(), rate ) );

onUnmounted( () => clearInterval( rendering ) );
这些变量和方法将允许每秒调用 67 次的 render 函数。剩下要做的事情就是计算 delta,将时间、持续时间与当前的 oscillation、i 和 number 相结合。
<script setup>

import { ref, onMounted, onUnmounted } from 'vue';

let rendering;

const width = 100;
const height = 100;

const rate = 15;
const duration = 4000;

const number = 20;
const amplitude = 25;
const oscillation = 2.5;

const path = ref();
const color = ref();

function render()
{
    const time = new Date().getTime();

    let points = [];

    for( let i = 0; i <= number; i++ )
    {
        const delta = 2 * ( ( time + i * oscillation * ( duration / number ) ) % duration ) / duration;
        const position = height / 2;

        const offsetX = width / number;
        const offsetY = Math.cos( Math.PI * delta );

        const x = offsetX * i;
        const y = offsetY * amplitude + position;

        points.push( { x : x, y : y } );
    }

    const curve = points.map( point => `${point.x} ${point.y}`).join( ' ' );

    path.value = `M ${curve}`;

    color.value = `hsl( ${time / rate % 360}, 100%, 50% )`;
}

onMounted( () => rendering = setInterval( () => render(), rate ) );

onUnmounted( () => clearInterval( rendering ) );

</script>

<template>

	<svg preserveAspectRatio="none" v-bind:viewBox="`0 0 ${width} ${height}`">

        <path fill="none" v-bind:stroke="color" v-bind:d="path"/>

	</svg>

</template>


现在,想象力是唯一的限制。
resources/js/components/backgrounds/Waves.vue
<script setup>

import { ref, onMounted, onUnmounted } from 'vue';

let interval;

const width = 100;
const height = 100;

const rate = 15;

const number = 50;
const waves = [
    { position : 60, amplitude : 2, delay : 6000, duration : 32000, color : '#33E5E1' },
    { position : 68, amplitude : 4, delay : 4000, duration : 22000, color : '#007991' },
    { position : 76, amplitude : 6, delay : 2000, duration : 12000, color : '#222E50' },
];
const paths = ref( [] );

function render()
{
    const time = new Date().getTime();

    for( let i = 0; i < waves.length; i++ )
    {
        let points = [];

        for( let j = 0; j <= number; j++ )
        {
            const delta = 2 * ( time + waves[ i ].delay + j * ( waves[ i ].duration / number ) % waves[ i ].duration ) / waves[ i ].duration;
            const offsetX = width / number;
            const offsetY = Math.cos( Math.PI * delta );

            const x = offsetX * j;
            const y = offsetY * waves[ i ].amplitude + waves[ i ].position;

            points.push( { x : x, y : y } );
        }

        const curve = points.map( point => `${point.x} ${point.y}`).join( ' ' );

        paths.value[ i ] = `M ${curve} 100 100 0 100 Z`;

    }
}

onMounted( () => interval = setInterval( () => render() , rate ) );

onUnmounted( () => clearInterval( interval ) );

</script>

<template>

	<svg preserveAspectRatio="none" v-bind:viewBox="`0 0 ${width} ${height}`">

        <path fill="#F5F5F5" d="M 0 0 100 0 100 100 0 100 Z" />

        <linearGradient v-for=" ( wave, key ) in waves " v-bind:id="`wave-gradient-${key}`" v-bind:key="`wave-gradient-${key}`" x1="0" x2="0" y1="0" y2="1">

            <stop offset="0%" v-bind:stop-color="wave.color" />

            <stop offset="100%" v-bind:stop-color="waves[ key + 1 ] ? waves[ key + 1 ].color : '#12192b' " />

        </linearGradient>

        <path v-for=" ( path, key ) in paths " v-bind:key="`path-${key}`" v-bind:fill="`url(#wave-gradient-${key})`" v-bind:d="path"/>

	</svg>

</template>

另一个例子。
resources/js/components/backgrounds/Pixels.vue
<script setup>

import { ref, onMounted, onUnmounted } from 'vue';

let interval;

const width = 100;
const height = 60;

const rate = 40;

const colors = ref( [] );
const paths = ref( [] );

function setPaths()
{
    for( let i = 0; i < width * height; i++ )
    {
        const x = i % width;
        const y = Math.floor( i / width );

        paths.value[ i ] = `M ${x} ${y} H ${x+1} V ${y+1} H ${x} Z`;
    }
}

function setColors()
{
    for( let i = 0; i < width * height; i++ )
    {
        colors.value[ i ] = `#${Math.floor( Math.random() * 16777215 ).toString( 16 )}`;
    }
}

onMounted( () =>
{
    setColors();

    setPaths();

    interval = setInterval( () => setColors() , rate );
} );

onUnmounted(() => clearInterval( interval ) );

</script>

<template>

	<svg preserveAspectRatio="none" v-bind:viewBox="`0 0 ${width} ${height}`">

        <path v-for=" index in width * height " v-bind:key="`path-${index - 1}`" v-bind:fill="colors[ index - 1 ]" v-bind:d="paths[ index - 1 ]"/>

	</svg>

</template>
- 在这种情况下,
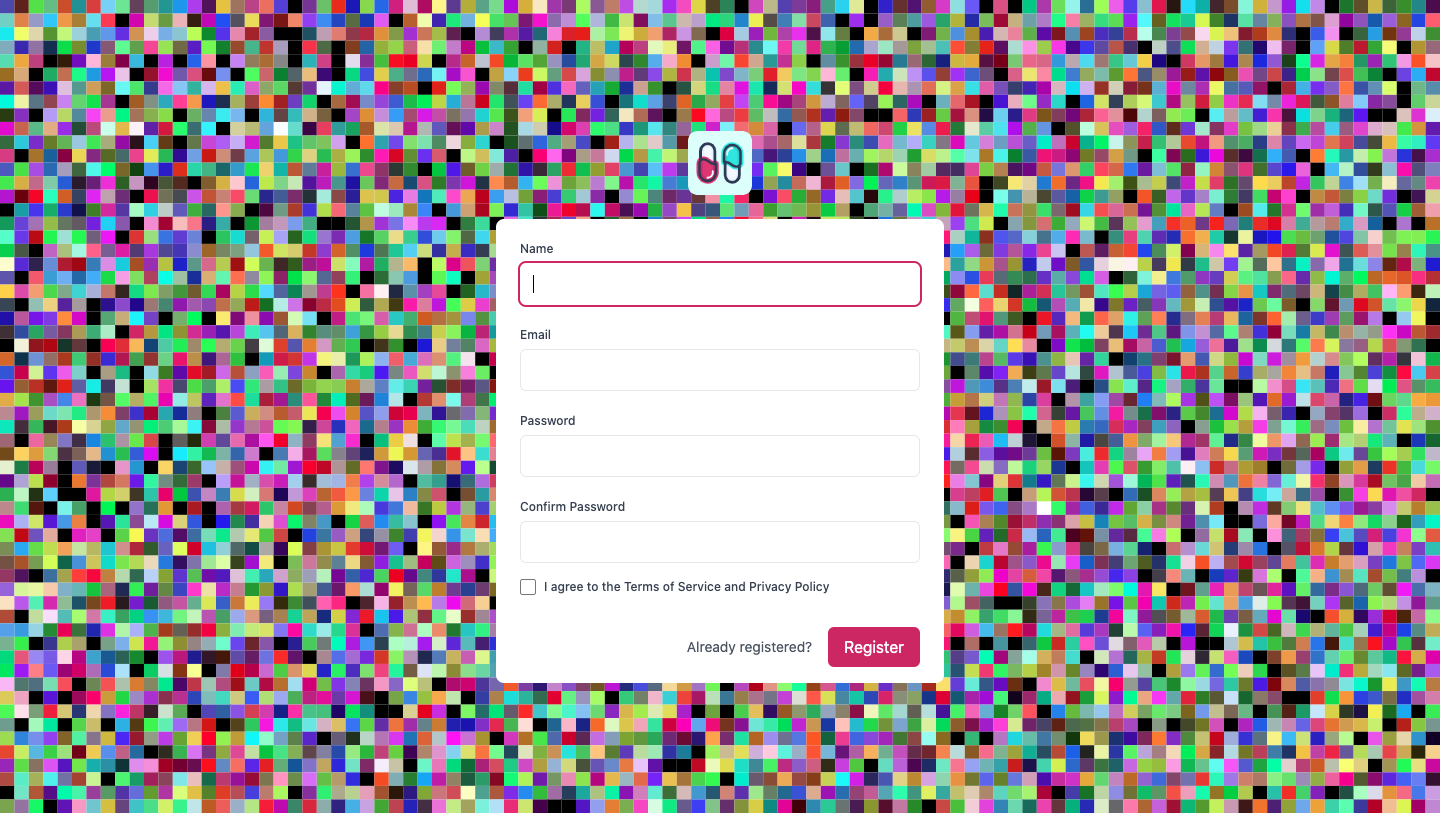
rate的40是一个选择。当前的值请求浏览器调用以下方法 40 * 100 * 60 次:Math.floor(Math.random() * 16777215).toString(16)。这代表了每秒 240,000 次计算的结果。相当消耗资源的过程。
注意保护您的眼睛。

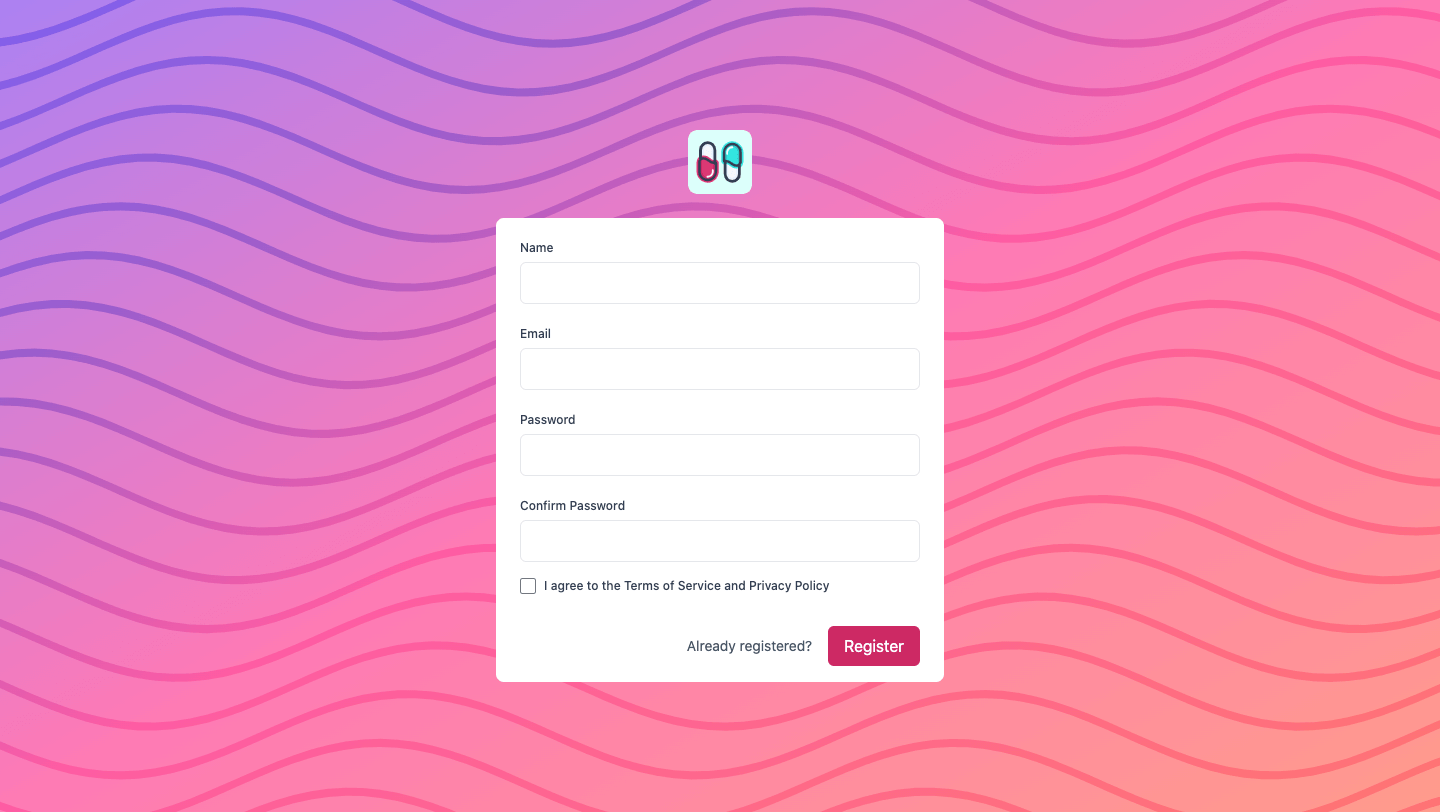
通过突出显示本文中使用的各种建议概念,视觉效果可以取得这样的结果。
resources/js/components/backgrounds/Pattern.vue
<script setup>

import { ref, onMounted, onUnmounted } from 'vue';

let interval;

const width = 120;
const height = 120;

const rate = 10;
const duration = 20000;

const curves = 20;
const number = 100;
const oscillation = 3;
const amplitude = 5;
const thickness = 1;
const delay = 1000;

const colors = [ "#ab81f2", "#ff7ab4", "#ff9b8b" ];
const paths = ref( [] );

function generate()
{
    let time = new Date().getTime();

    for( let i = 0; i < curves; i++ )
    {
        time = time + delay;

        let points = [];

        for( let j = 0; j <= number; j++ )
        {
            const offsetX = width / number;
            const x = offsetX * j;

            const delta = 2 * ( ( time + j * oscillation * ( duration / number ) ) % duration ) / duration;
            const offsetY = Math.cos( Math.PI * delta );
            const y = offsetY * amplitude + ( height / curves * i );

            points.push( { x : x, y : y } );
        }

        for( let k = number; k >= 0; k-- )
        {
            const offsetX = width / number;
            const x = offsetX * k;

            const delta = 2 * ( ( time + k * oscillation * ( duration / number ) ) % duration ) / duration;
            const offsetY = Math.cos( Math.PI * delta );
            const y = offsetY * amplitude + ( height / curves * i ) + thickness;

            points.push( { x : x, y : y } );
        }

        paths.value[ i ] = `M ${points.map( point => `${point.x} ${point.y}`).join( ' ' )}`;
    }
}

onMounted( () => interval = setInterval( () => generate() , rate ) );

onUnmounted( () => clearInterval( interval ) );

</script>

<template>

	<svg preserveAspectRatio="none" viewBox="0 0 100 100">

        <linearGradient id="color-gradient" x1="0" x2="1" y1="0" y2="1">

            <stop v-for=" ( value, key ) in colors " v-bind:key="`color-${value}`" v-bind:offset="`${100 / ( colors.length - 1 ) * key}%`" v-bind:stop-color="value" />

        </linearGradient>

        <path fill="url(#color-gradient)" v-bind:d="`M 0 0 100 0 100 100 0 100 Z`"/>

        <path v-for=" ( path, key ) in paths " v-bind:key="`path-${key}`" fill="#293388" fill-opacity="25%" class="mix-blend-color-burn" v-bind:d="`${path}`"/>

	</svg>

</template>

很高兴这有帮助。
driesvints 转发了这篇文章


 Laravel
  Laravel News
  Laracasts
  Laravel Podcast